
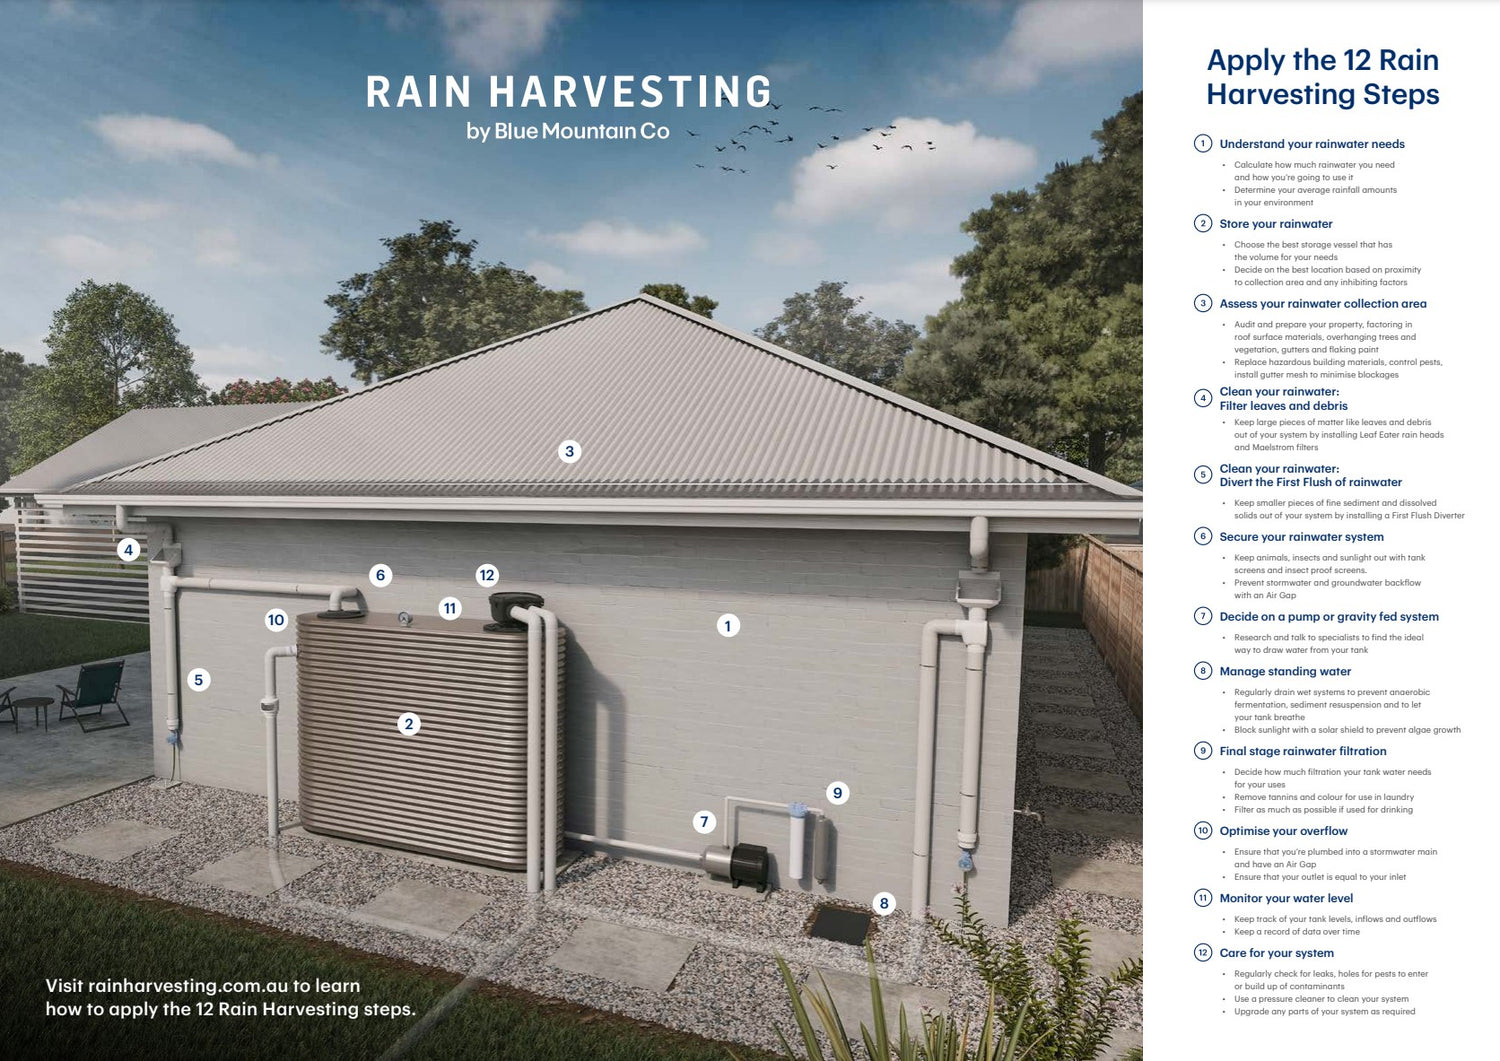
The 12 Steps of Rain Harvesting
-

Step One :
Understand your rainwater needs
When it comes to Rain Harvesting, there are two operative words we use when determining more measurable goals – Quantity and Quality.
How you plan to use your rainwater and how much you need for that use are the cornerstones in your decision-making when building an effective rainwater harvesting system.
-
Step Two:
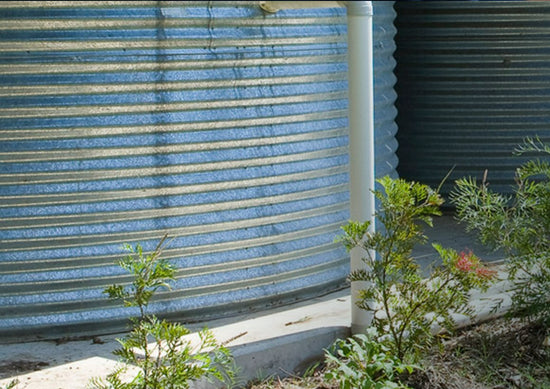
Store your rainwater
Make the right choice for your property.
Choose an appropriate storage vessel for your needs.
-

Step Three:
Assess your rainwater collection area
Audit your roof, gutters and surrounding environment to prepare your property for rainwater collection.
-

Step Four:
Clean your rainwater:
Filter leaves and debrisKeep leaves and debris out of your rainwater system.
-

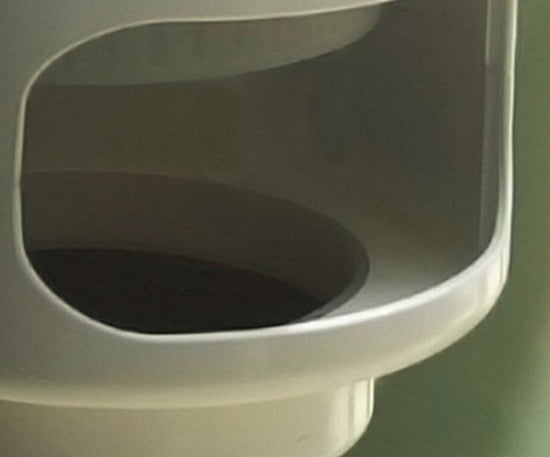
Step Five:
Clean your rainwater: Divert the First Flush of rainwater
Use first flush diversion to channel, capture, and isolate the most contaminated rainwater from your roof to divert it away from your tank.
-

Step Six:
Secure your
rainwater systemBy securing the entry and exit points of your system, you can keep animals, insects, sunlight and dirty water out in order to reduce hidden activity and preserve your rainwater quality.
-

Step Seven:
Decide on a pump or gravity fed system
Find the best way to draw water from your tank depending on what your end use is.
-

Step Eight:
Manage standing water
By looking after the water sitting in your tank and pipework, you’re ensured great quality water.
-

Step Nine:
Final stage rainwater filtration
Reduce sediment, colour, and odour from rainwater before use.
-
Step Ten:
Optimise Your Overflow
Optimise your overflow to ensure your tank is always performing at its best, even during high rainfall events.
-

Step Eleven:
Monitor your water level
Record your usage to optimise your rainwater use.
-

Step Twelve:
Care for your system
Inspect your system intermittently to keep it running at its best.


